|

 
Welding up the small cracks in the aluminum double hull.

More
welding on the seam of the aluminum second plate.

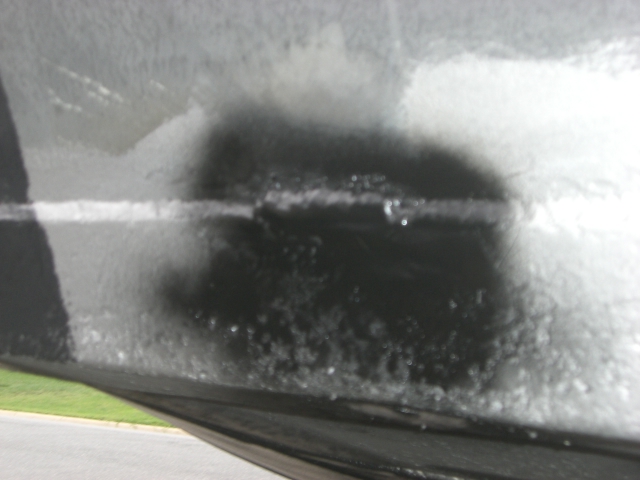
Sand-blasted and
primer-ready for bottom paint. Note the outdrive is still
mounted to the bench, being worked on.
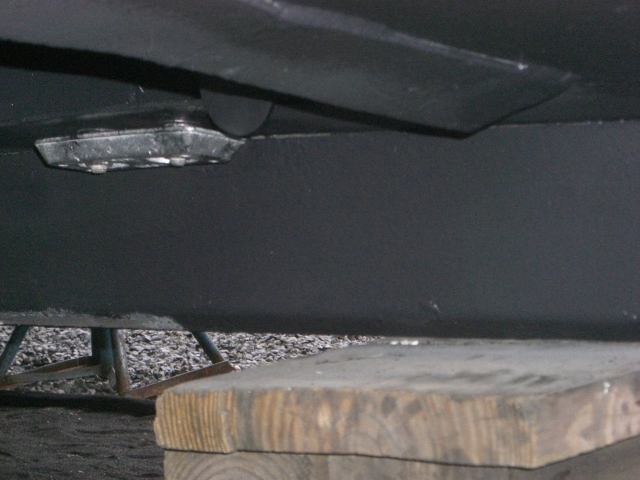
Ready and waiting for the
finished outdrive. The shiny block on the right is a new
sacrificial aluminum anode, used to protect the boat hull.
Any time you have two different metals that are
physically or electrically connected and immersed in
seawater, they become a battery. Some amount of current
flows between the two metals. The electrons that make up
that current are supplied by one of the metals giving up
bits of itself--in the form of metal ions--to the seawater.
This is called galvanic corrosion and, left unchecked, it
quickly destroys underwater metals.
The most common casualty of galvanic corrosion is a
bronze or aluminum propeller on a stainless steel shaft, but
metal struts, rudders, rudder fittings, outboards, and stern
drives are also at risk. The way to counteract galvanic
corrosion is to add a third metal into the circuit, one that
is quicker than the other two to give up its electrons. This
piece of metal is called a sacrificial anode.
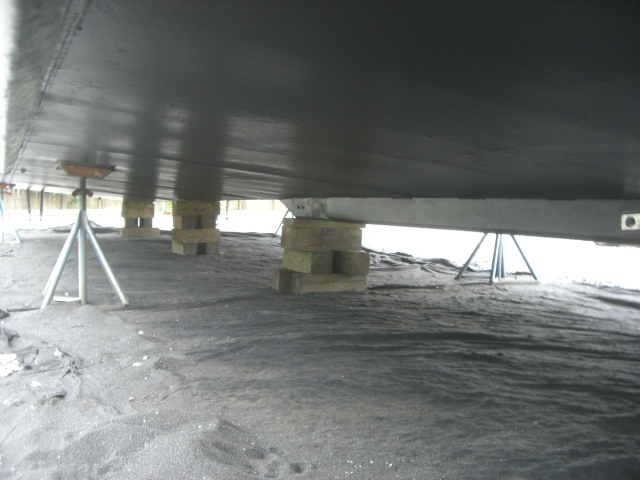
Bottom sand-blasted and
primered, ready for bottom paint, which will be rolled on.
Bottom sand-blasted and with
primer, ready for bottom paint, which will be rolled on.
Also more of the aluminum anodes. View if from the front
to rear of the boat. The ridge in the middle of the boat
is like a center board (dagger board) on a sail-boat, to
help prevent the boat from sliding sideways in the water.
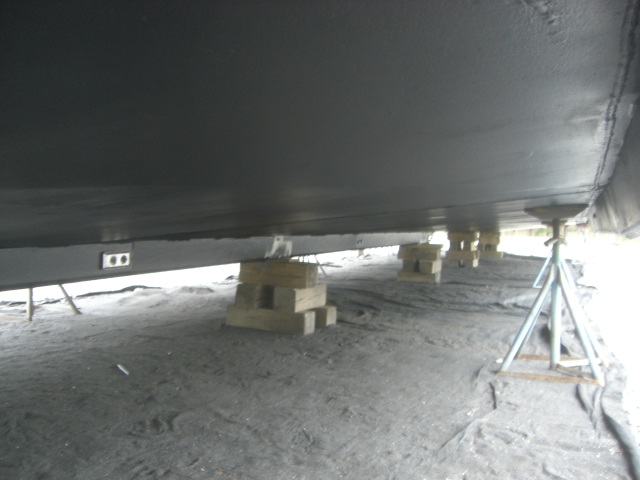
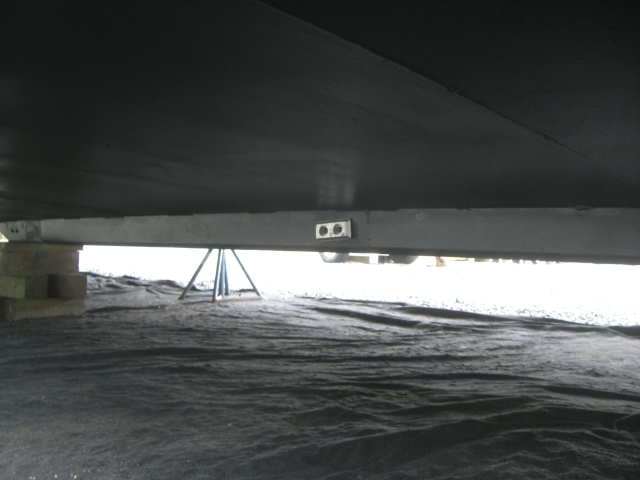
Bottom ready for bottom
paint. View is looking across the boat, with the bow
thrusters in the right of the picture.
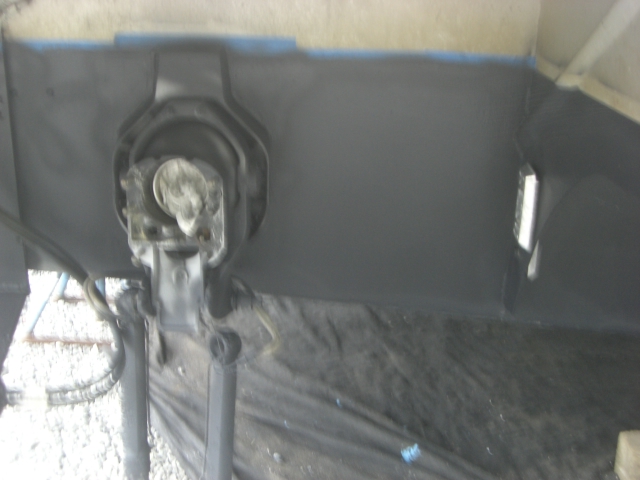
Old bow thrusters were
leaking after the boat had been out of the water for a
week….which is not good. Likely these were factory
installed when the boat was new, meaning they are kind of
old. Let’s see, rebuild or replace? Your thoughts?

Old bow thrusters with some
corrosion -- not bad for the age of the thrusters, but still
leaking. We need new thrusters.
Here you can see the
thruster where it was leaking. If you look close, you can
see the bottom of both can portions are leaking.
New bottom paint, Yea!
Also, the boot stripe was removed from the bottom of the
boat, near the waterline. This was a red stripe that needed
to be repaint or removed.
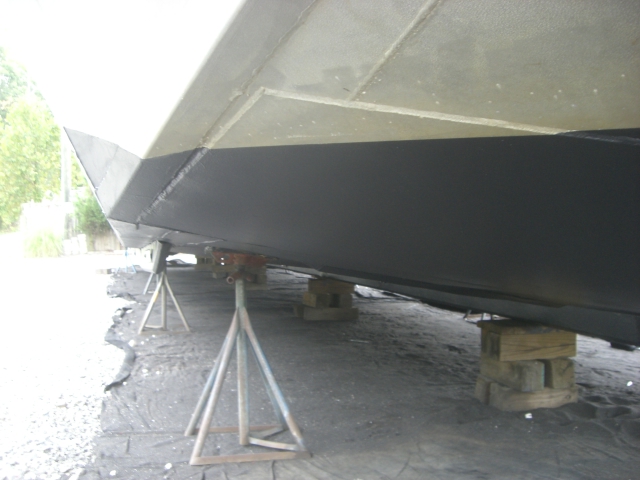
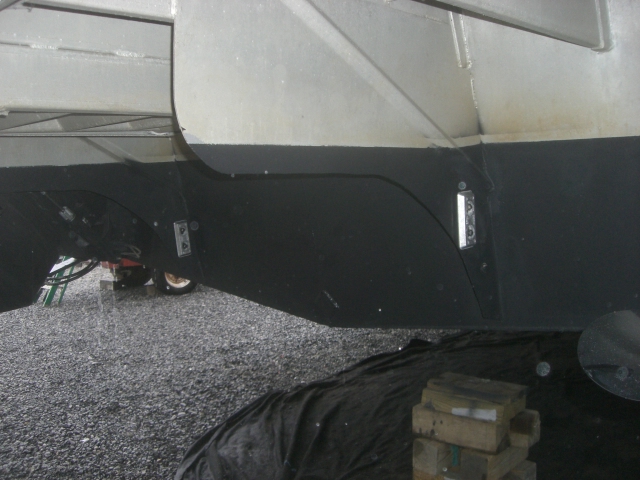
New bottom paint. The view
is the front portion of the boat with the double hull for
protection….in case we hit low water.
New bow thrusters….don’t
they look good? Also in the bottom of the picture is
another aluminum anode (shiny silver under the thruster
well.)
Another view of the bow thrusters, all ready to go back in
the water.
New
bottom paint and aluminum anodes, along the center-board.

New Speed/Temperature gauge,
mounted in the bottom of the boat. This is like a
speedometer. It is hard to see, but there is a small paddle
wheel in the middle of the new gauge, which spins to
indicate the speed of the boat.
New
bottom paint and aluminum anodes.
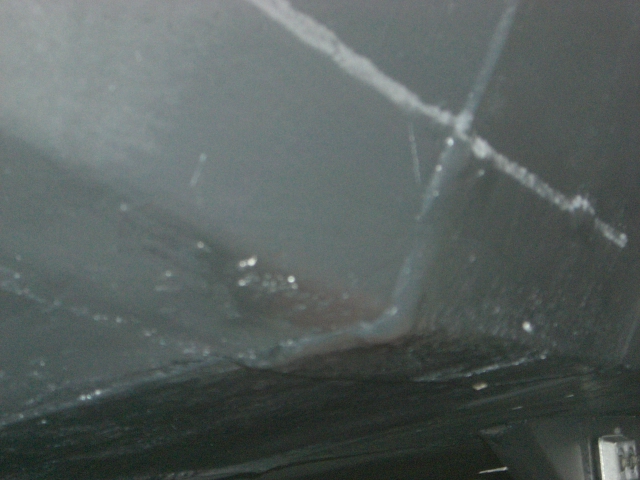
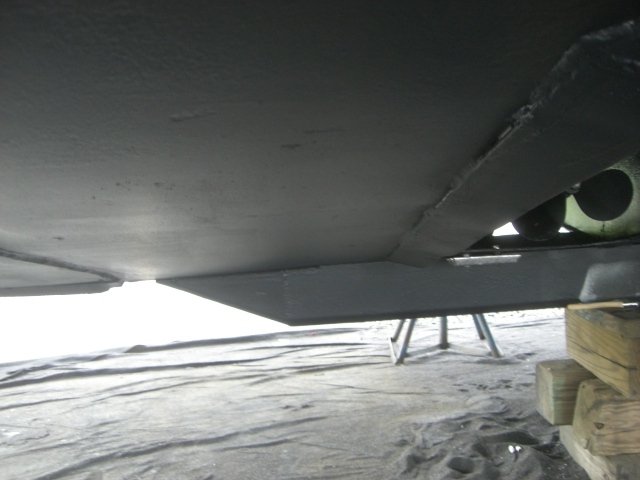
Corner
of the double hull, where the seam was welded and repainted.
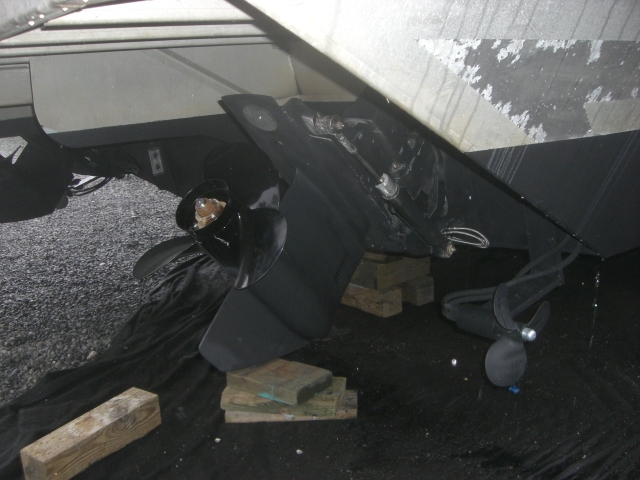
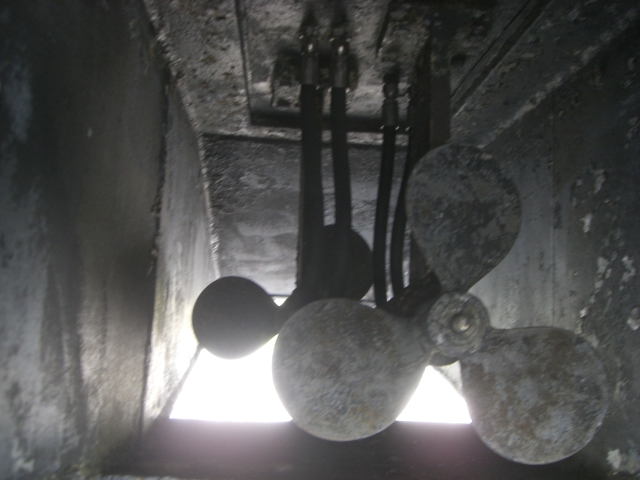
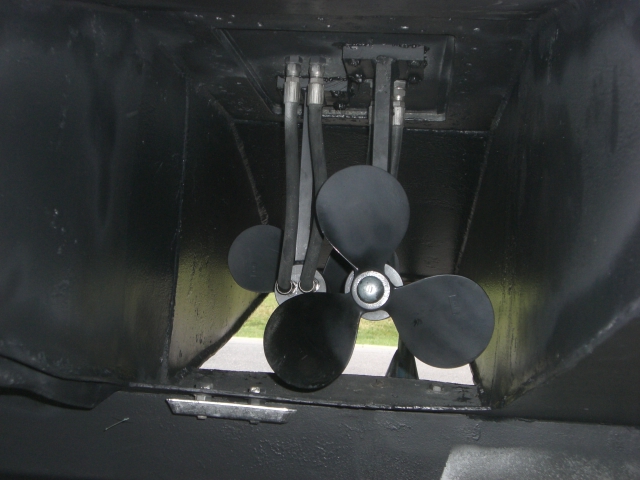
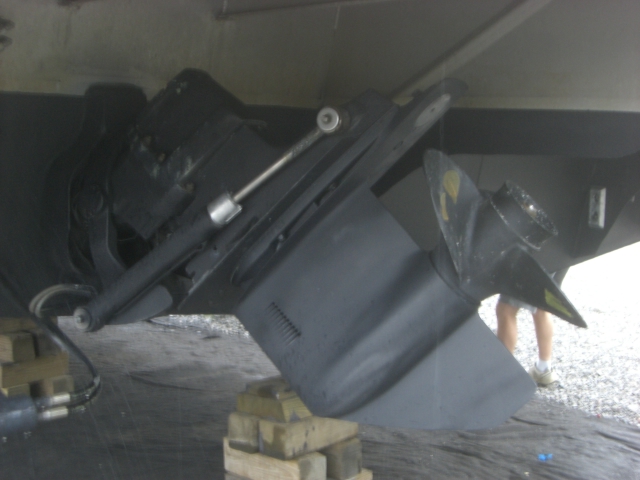
Starboard
outdrive, propeller, and stern thruster (bottom right in
picture) on left rear side of boat. This is the new stern
thruster, replacing the one discovered missing when we
pulled the boat out of the water….likely the cause of the
hydraulic fluid spilling in the river. You think?
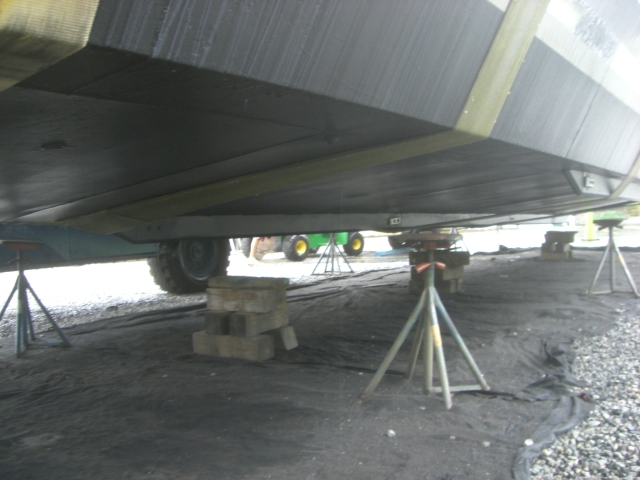
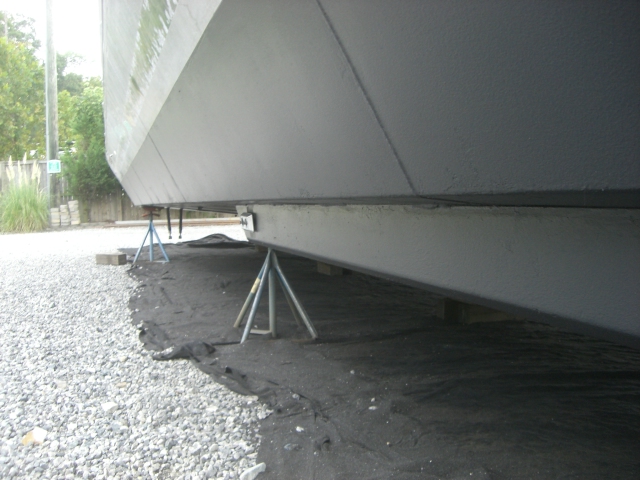
New bottom paint, just after
the boat was lifted off the blocks and jacks…getting ready
to go back in the water.
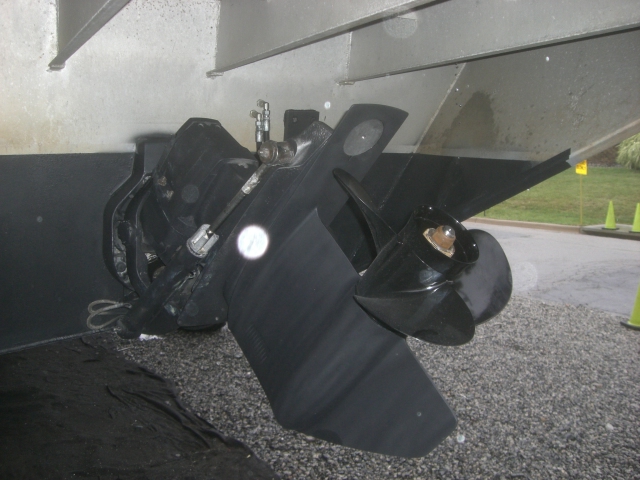
Other side of the port
outdrive and propeller, and on right rear side of the boat.
The propeller still has the tape on it from the
reconditioning packaging …you have to love that Duck Tape!
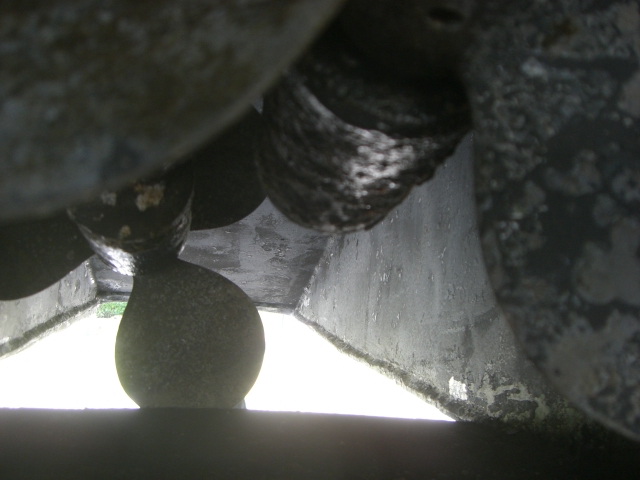
Starboard outdrive with new
propeller and silver anode set (the shiny silver parts).
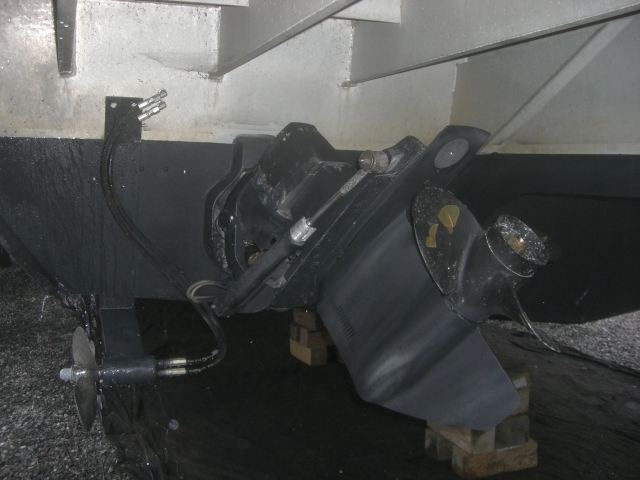
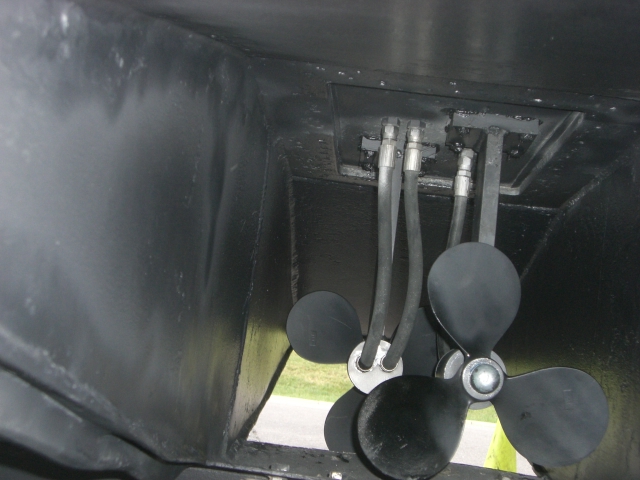
Starboard outdrive,
propeller, and stern thruster (far-left in picture) on
right rear side of boat. Better picture of the Duck Tape on
the propeller. It MAY come off after it has been spinning
for a while….it may.
Center (rear) transom of
boat. Behind this wall is where the engines live. This
photo is under the swim platform. Also new silver aluminum
anodes.
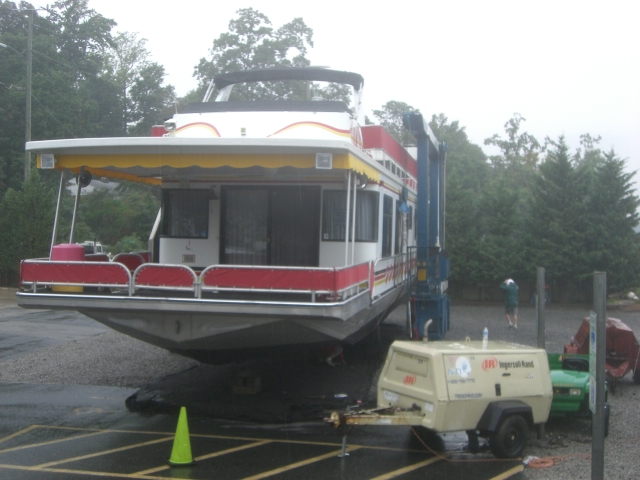
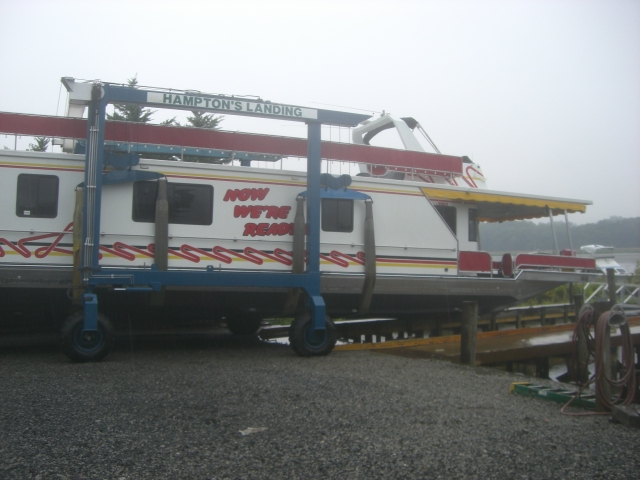
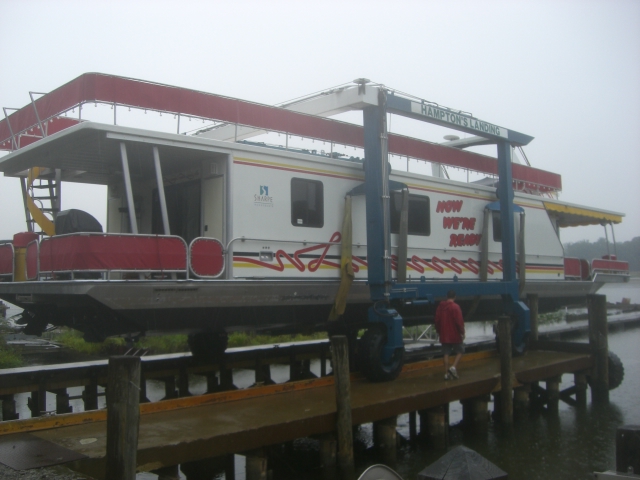
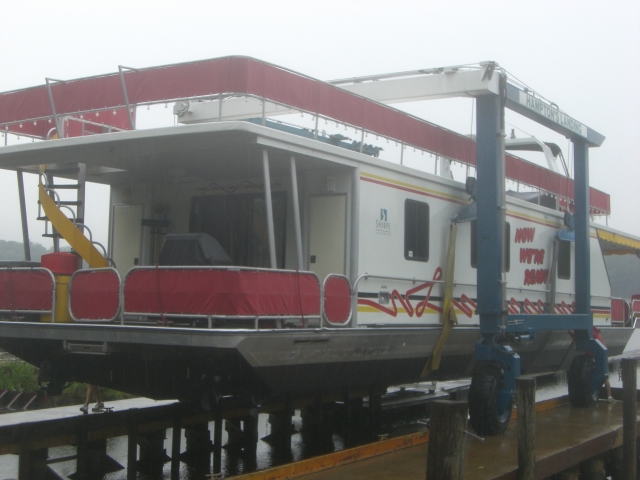
Lifted up and ready to head
back into the water after a 29-day repair job.
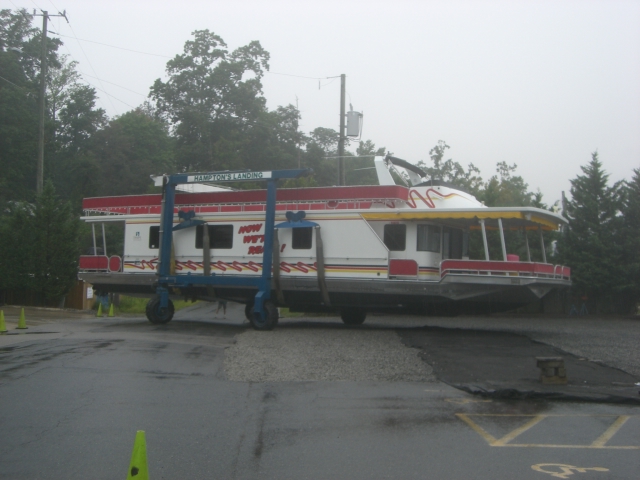
Backing up the boat, into
the street, to clear the front end….heading for the water,
in front of the boat.
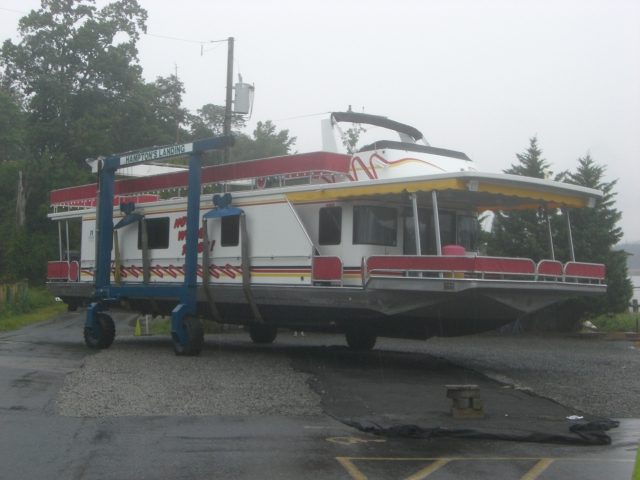
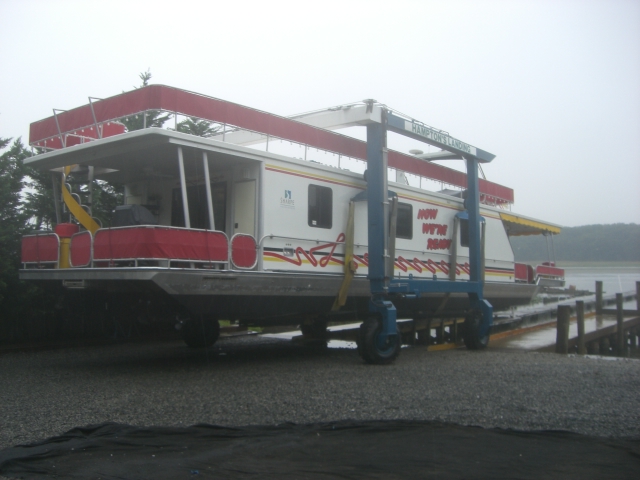
Now, hard left and toward
the water.
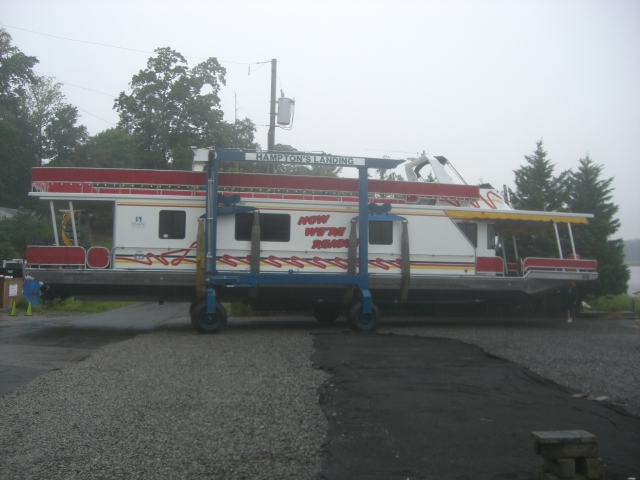
Lined
up toward the water, now just forward….but slowly.
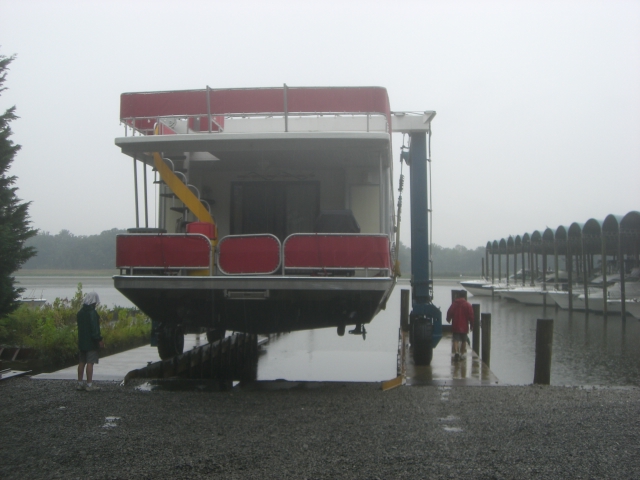
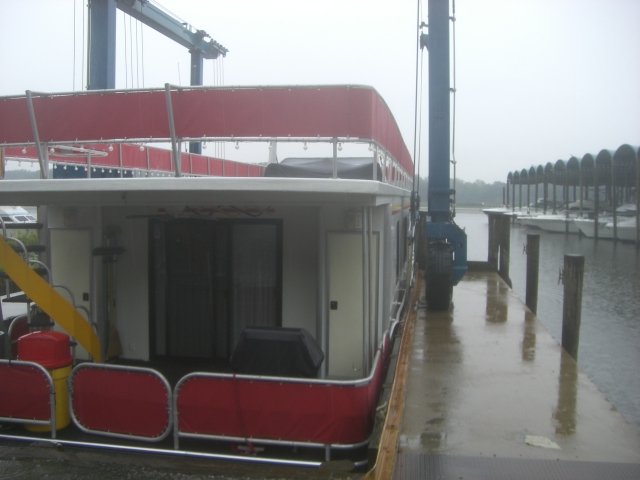
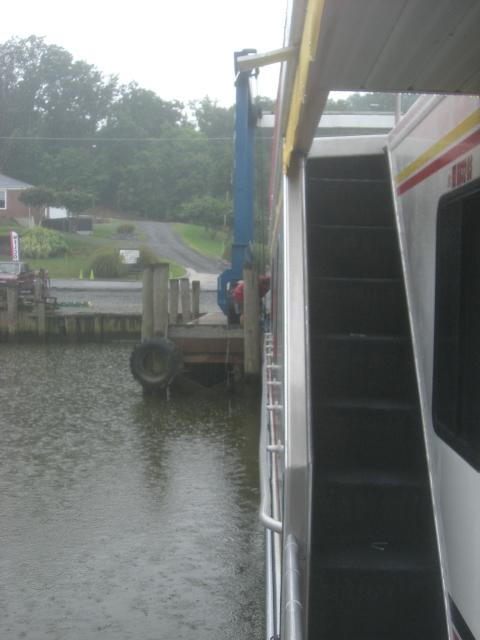
Down the pier and back into
the water.
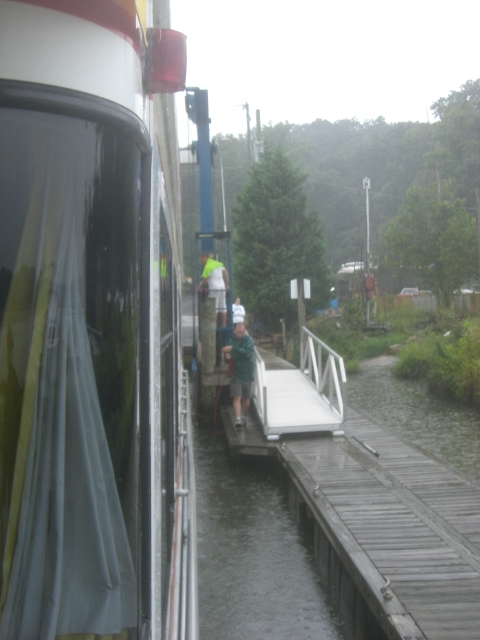
Careful now…over the edge of the pier….and we are almost
there.

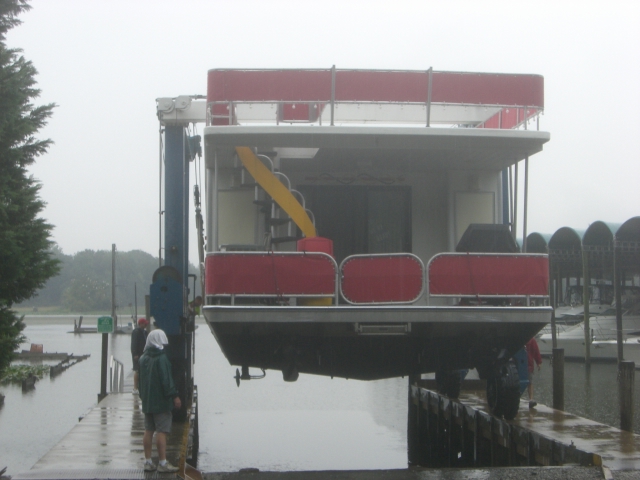
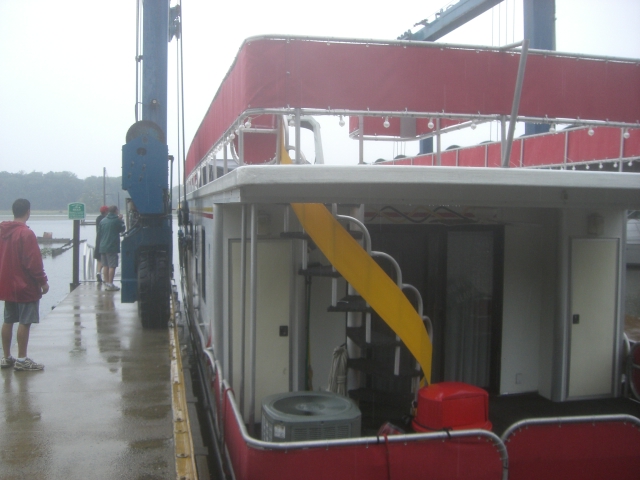
Almost in place….just
forward a bit more. By the way, can you tell it was
raining? Fun, fun, fun. I guess it really shouldn't
matter; it’s a boat, right?!
In place! Now, get ready
to drop it…..well, maybe lower it slowly.
Down she goes, but slowly.
Going down!
Down slowly.
Now
much room to play with….actually we have an inch or two to
spare.
See
the inches we had left….they are somewhere in there….look
closely.
Starboard side fits, but
just.
Port
side also fits, but just barely, as well.
|